1. Create Your Silva Account
Start protecting and tracking your jewellery in minutes.
Option 1: Scan the QR code to begin your account setup.
Option 2: Use the secure registration link sent to your email.
Once your account is active, your complimentary valuation will be available in your SILVA Vault shortly.


2. Add Your Details
To complete your SILVA profile, just enter the following details:
1. Full Name
2. Address
3. Phone Number (if not already provided in-store)
4. Then, create a secure password for your Silva account.
This step ensures your vault is protected and ready to receive your complimentary jewellery valuation.
3. Verify Your Account
To confirm your registration, enter the One-Time Password (OTP) sent to your email or phone number. This keeps your account secure.


4. Choose Your Plan
Explore which SILVA plan best suits your jewellery protection needs:
5. Login to Your Silva Account
Visit: app.mysilva.ai
Enter your registered email and password to log in.
Pro Tip: For easy access in the future, save SILVA as a web app on your phone.


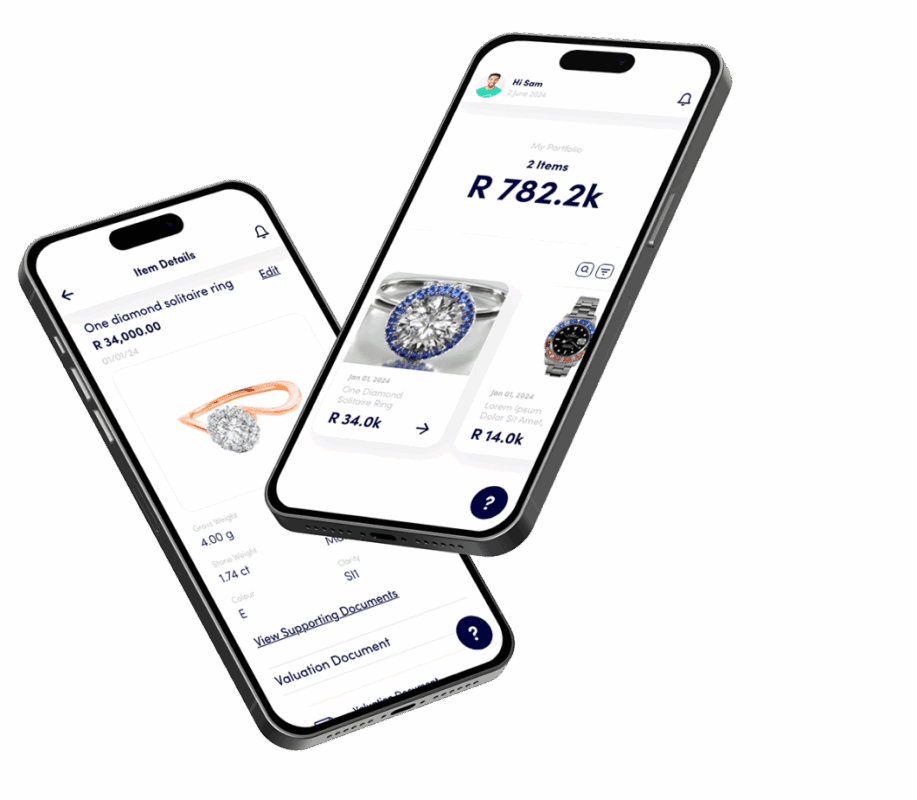
6. Welcome to Your Vault
Once logged in, your SILVA Vault will display your jewellery collection, including live values and securely stored details.
If you’ve recently added an item, it may take a little while to appear. You’ll receive a notification as soon as your valuation is ready and available.
7. View Your Valuation Certificate
1. Select any item from your portfolio list.
2. Scroll to the bottom to find the Valuation Documents.
3. Tap the document to open it.
4. Use the Share button to send or save your certificate.
You’re all set! Your items are securely stored, valued, and certified with Silva.
